Initial Setup
After registering, Galy guides you through a 3-step setup wizard to configure your account. You must complete at least the first two steps before you can access the main application.
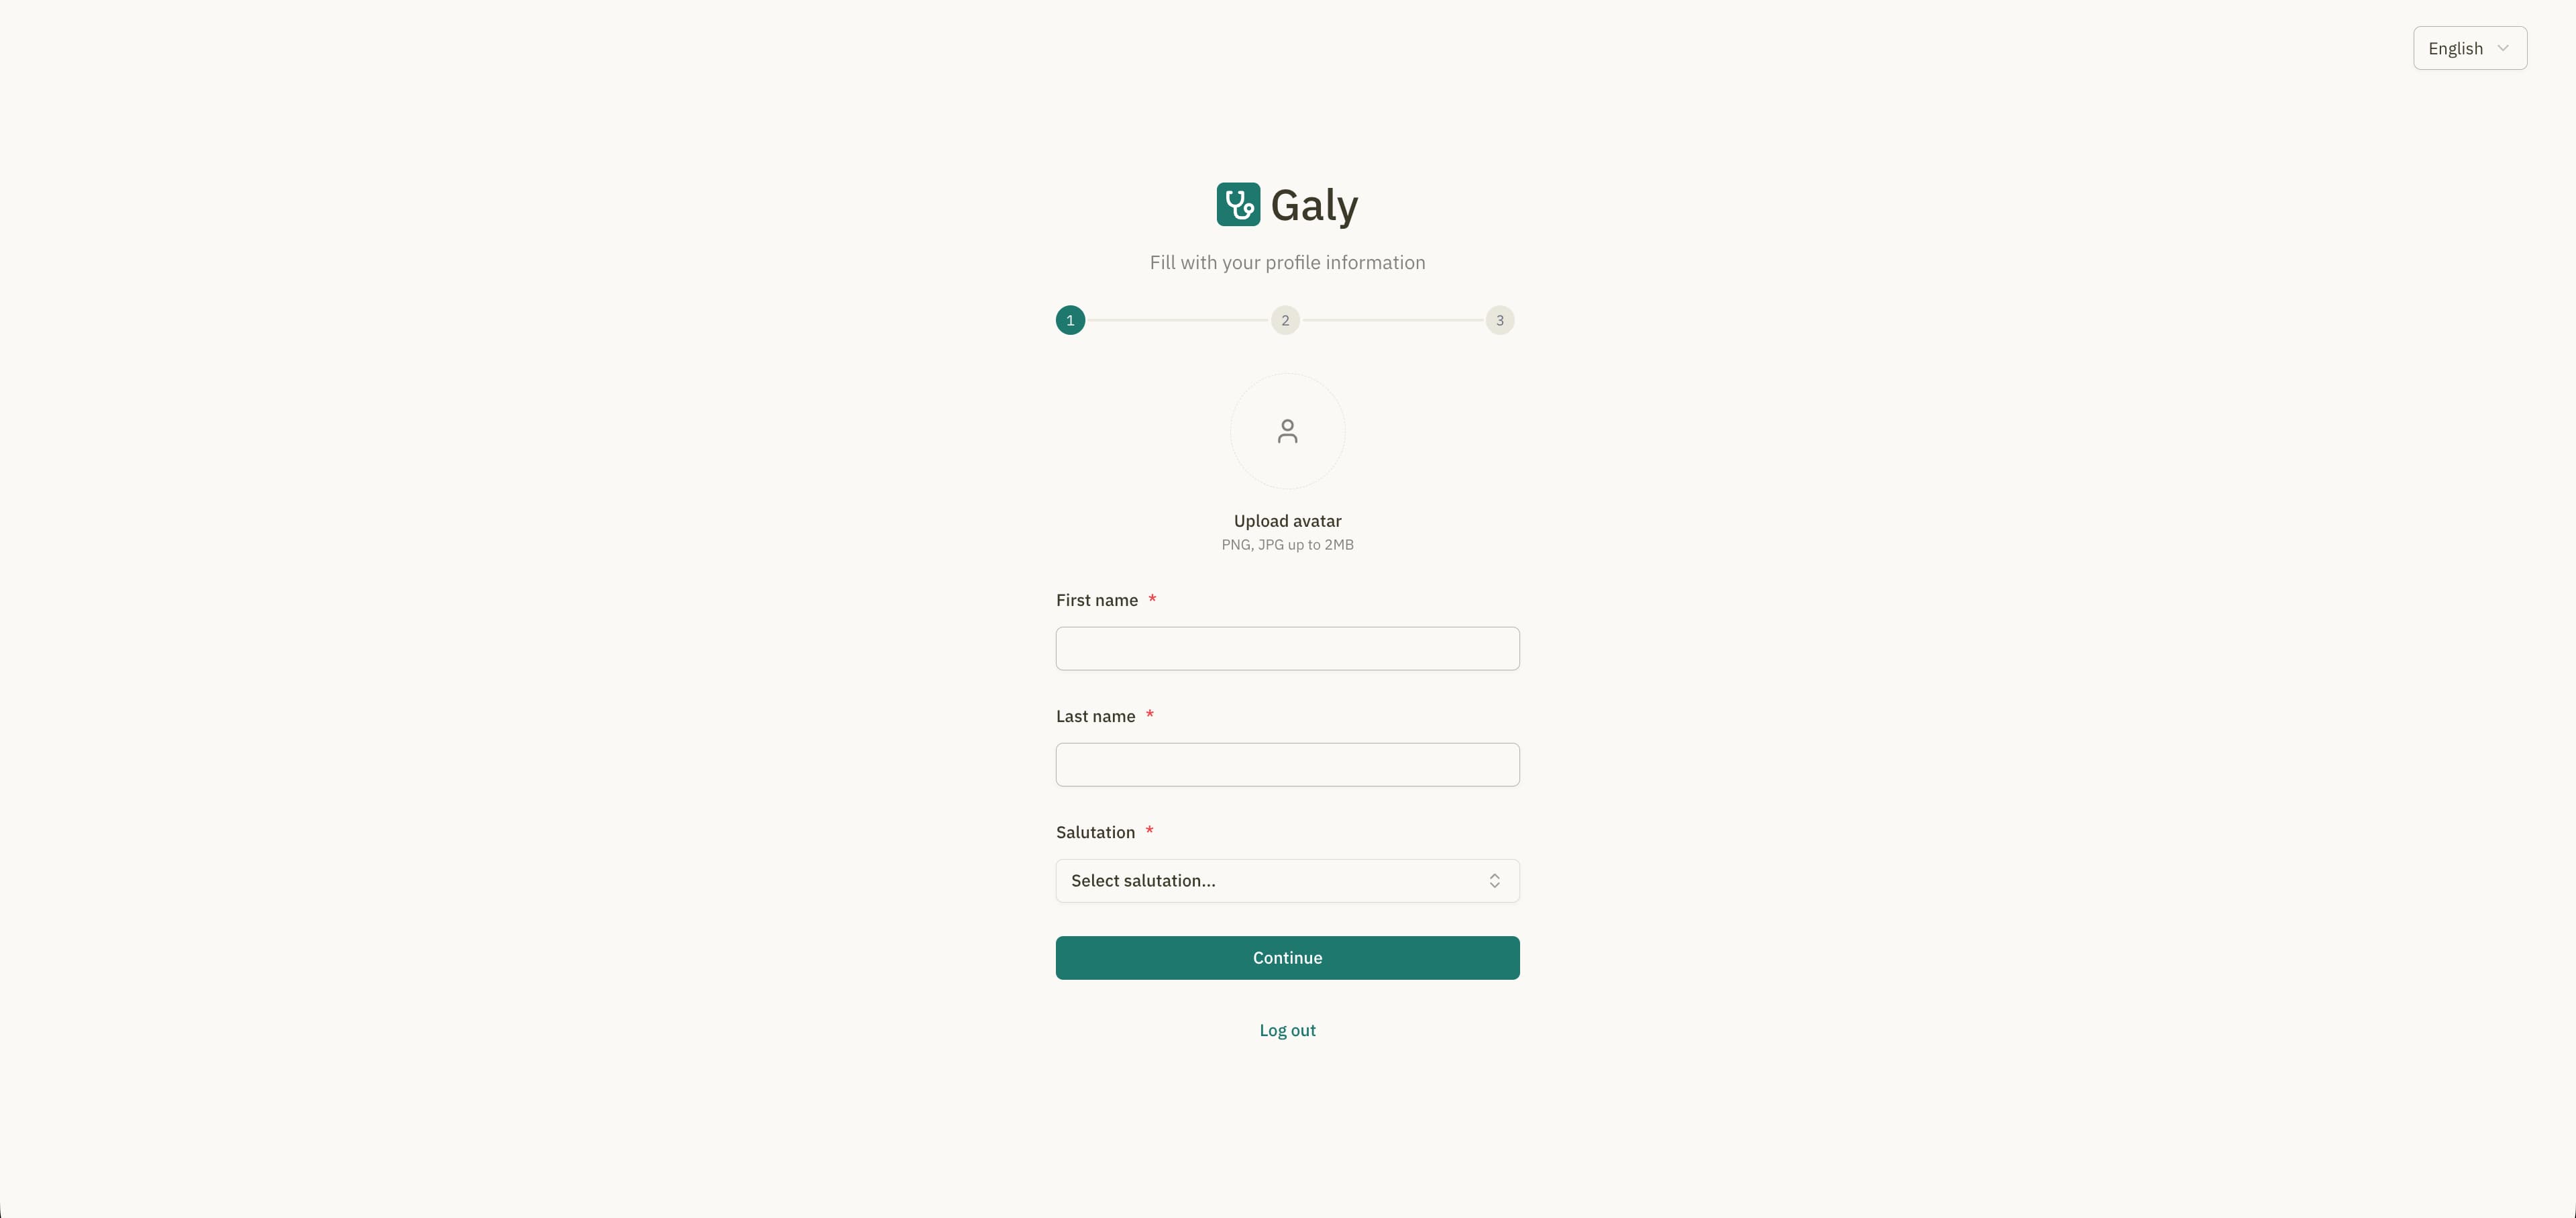
Step 1: Complete your profile
Fill in your personal information:
| Field | Description | Required |
|---|---|---|
| First name | Your given name(s) | Yes |
| Last name | Your family name(s) | Yes |
| Salutation | Your professional title (Dr., Dra., Lic., Prof., Odont., Psic., Enf., Med., Vet.) | Yes |
| Profile image | Upload a profile photo (PNG or JPG) | No |
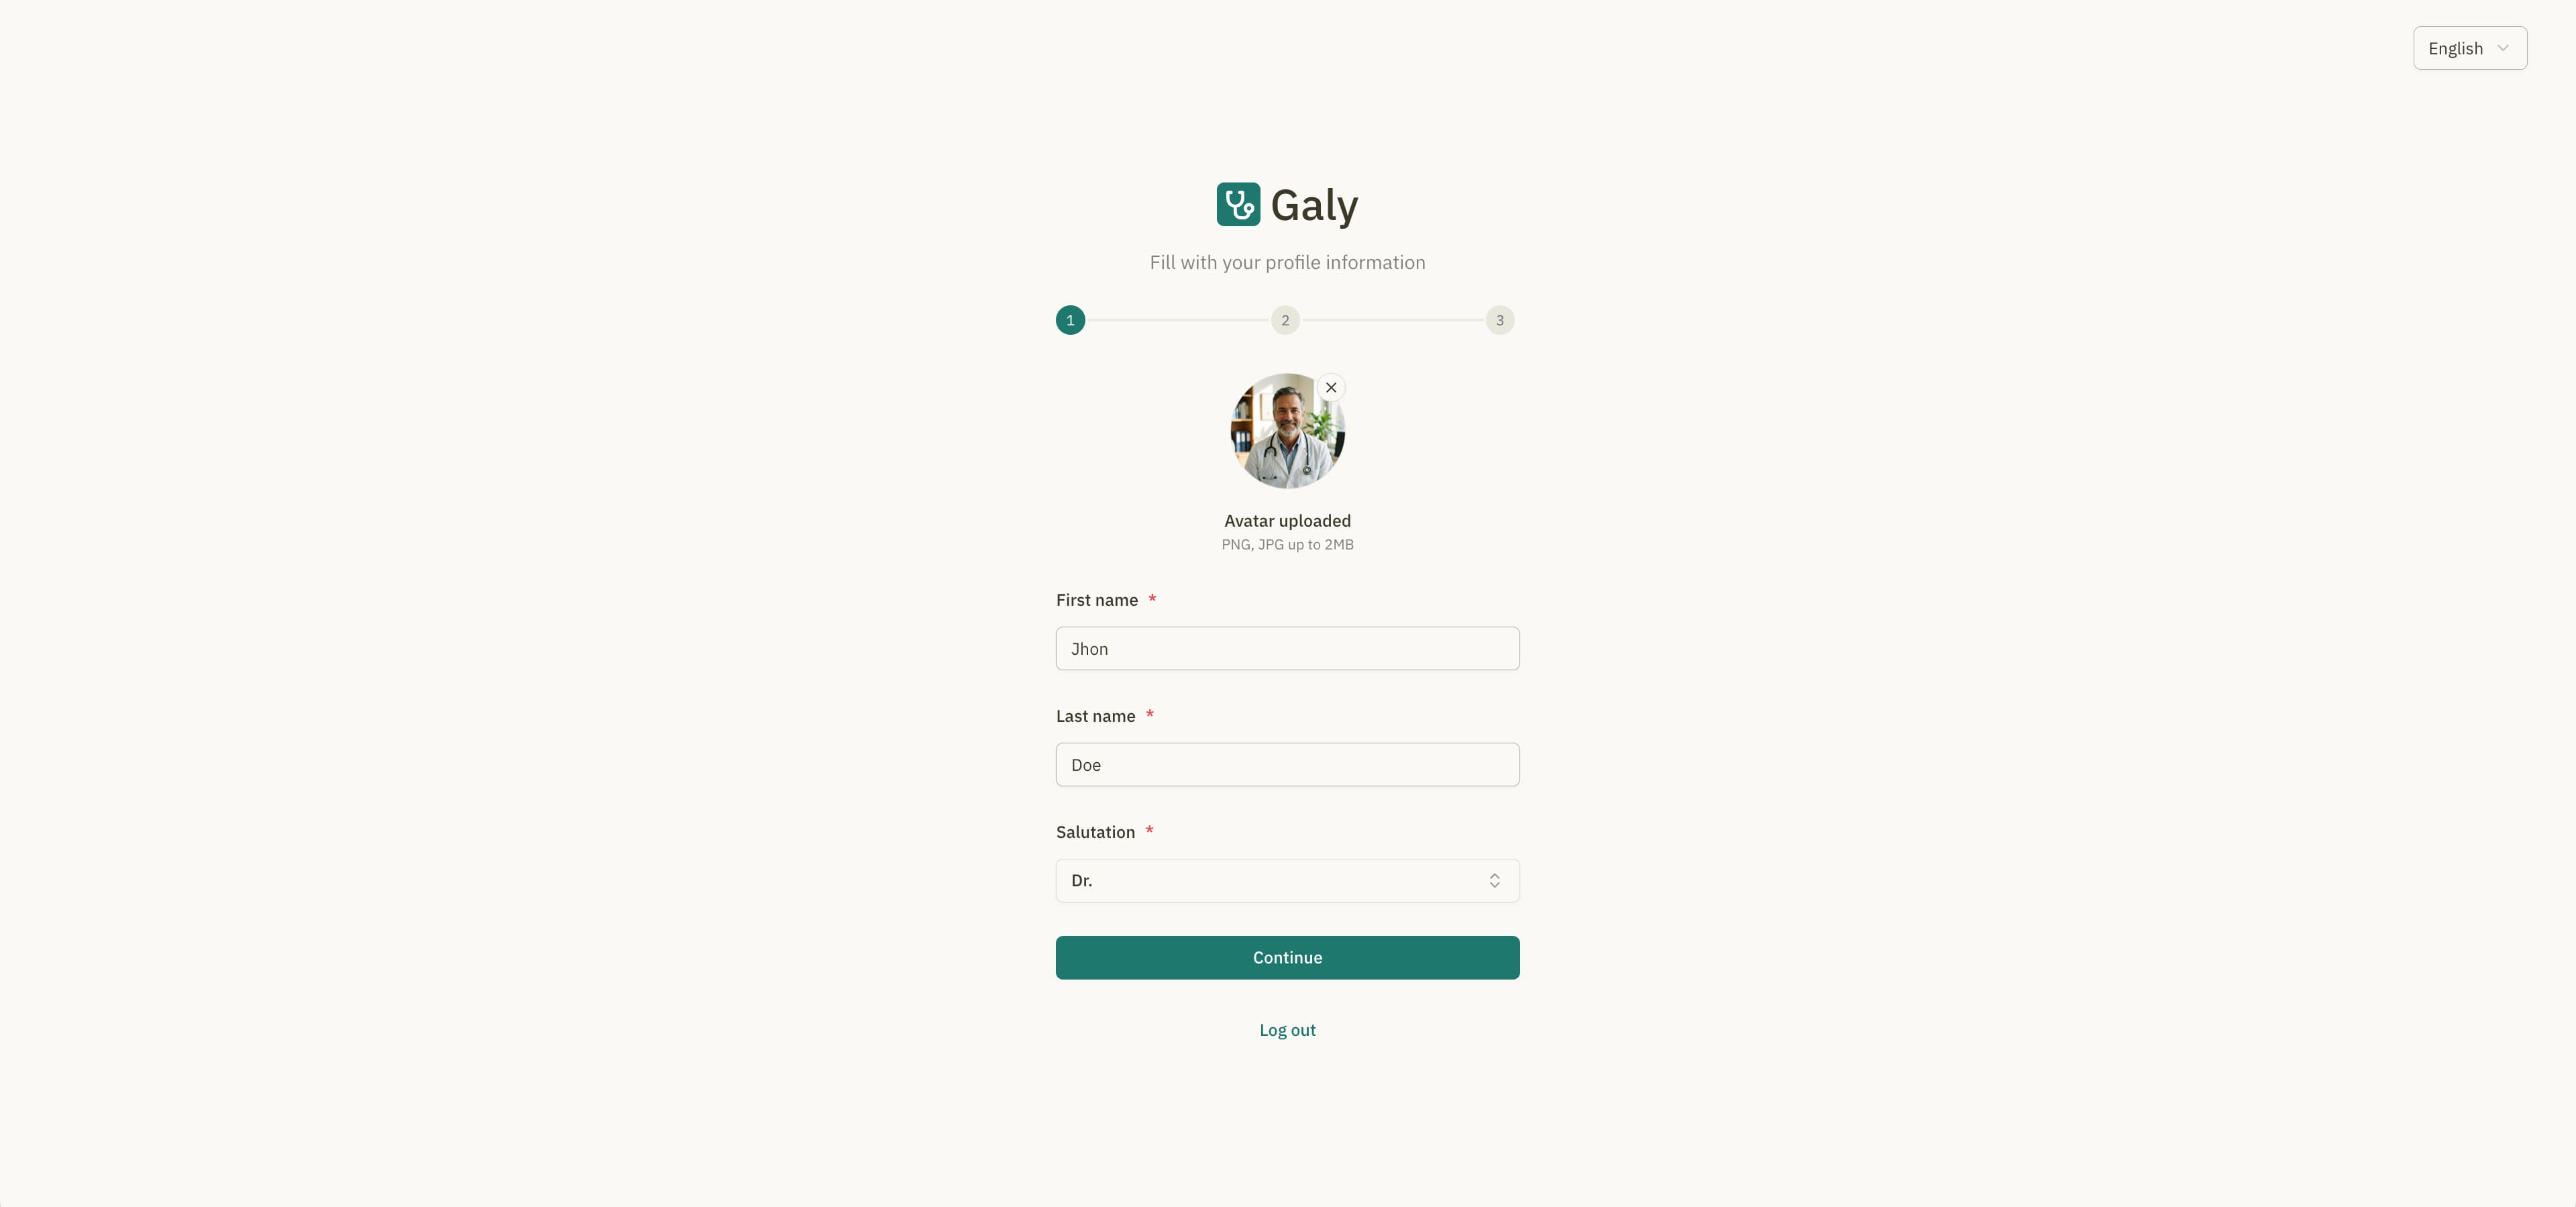
Uploading a profile image
- Click the "Upload" button in the profile image section.
- Select a PNG or JPG image from your device.
- A preview of the image will be displayed.
You can change your profile image later from Account Settings.
Click "Continue" to proceed to the next step.
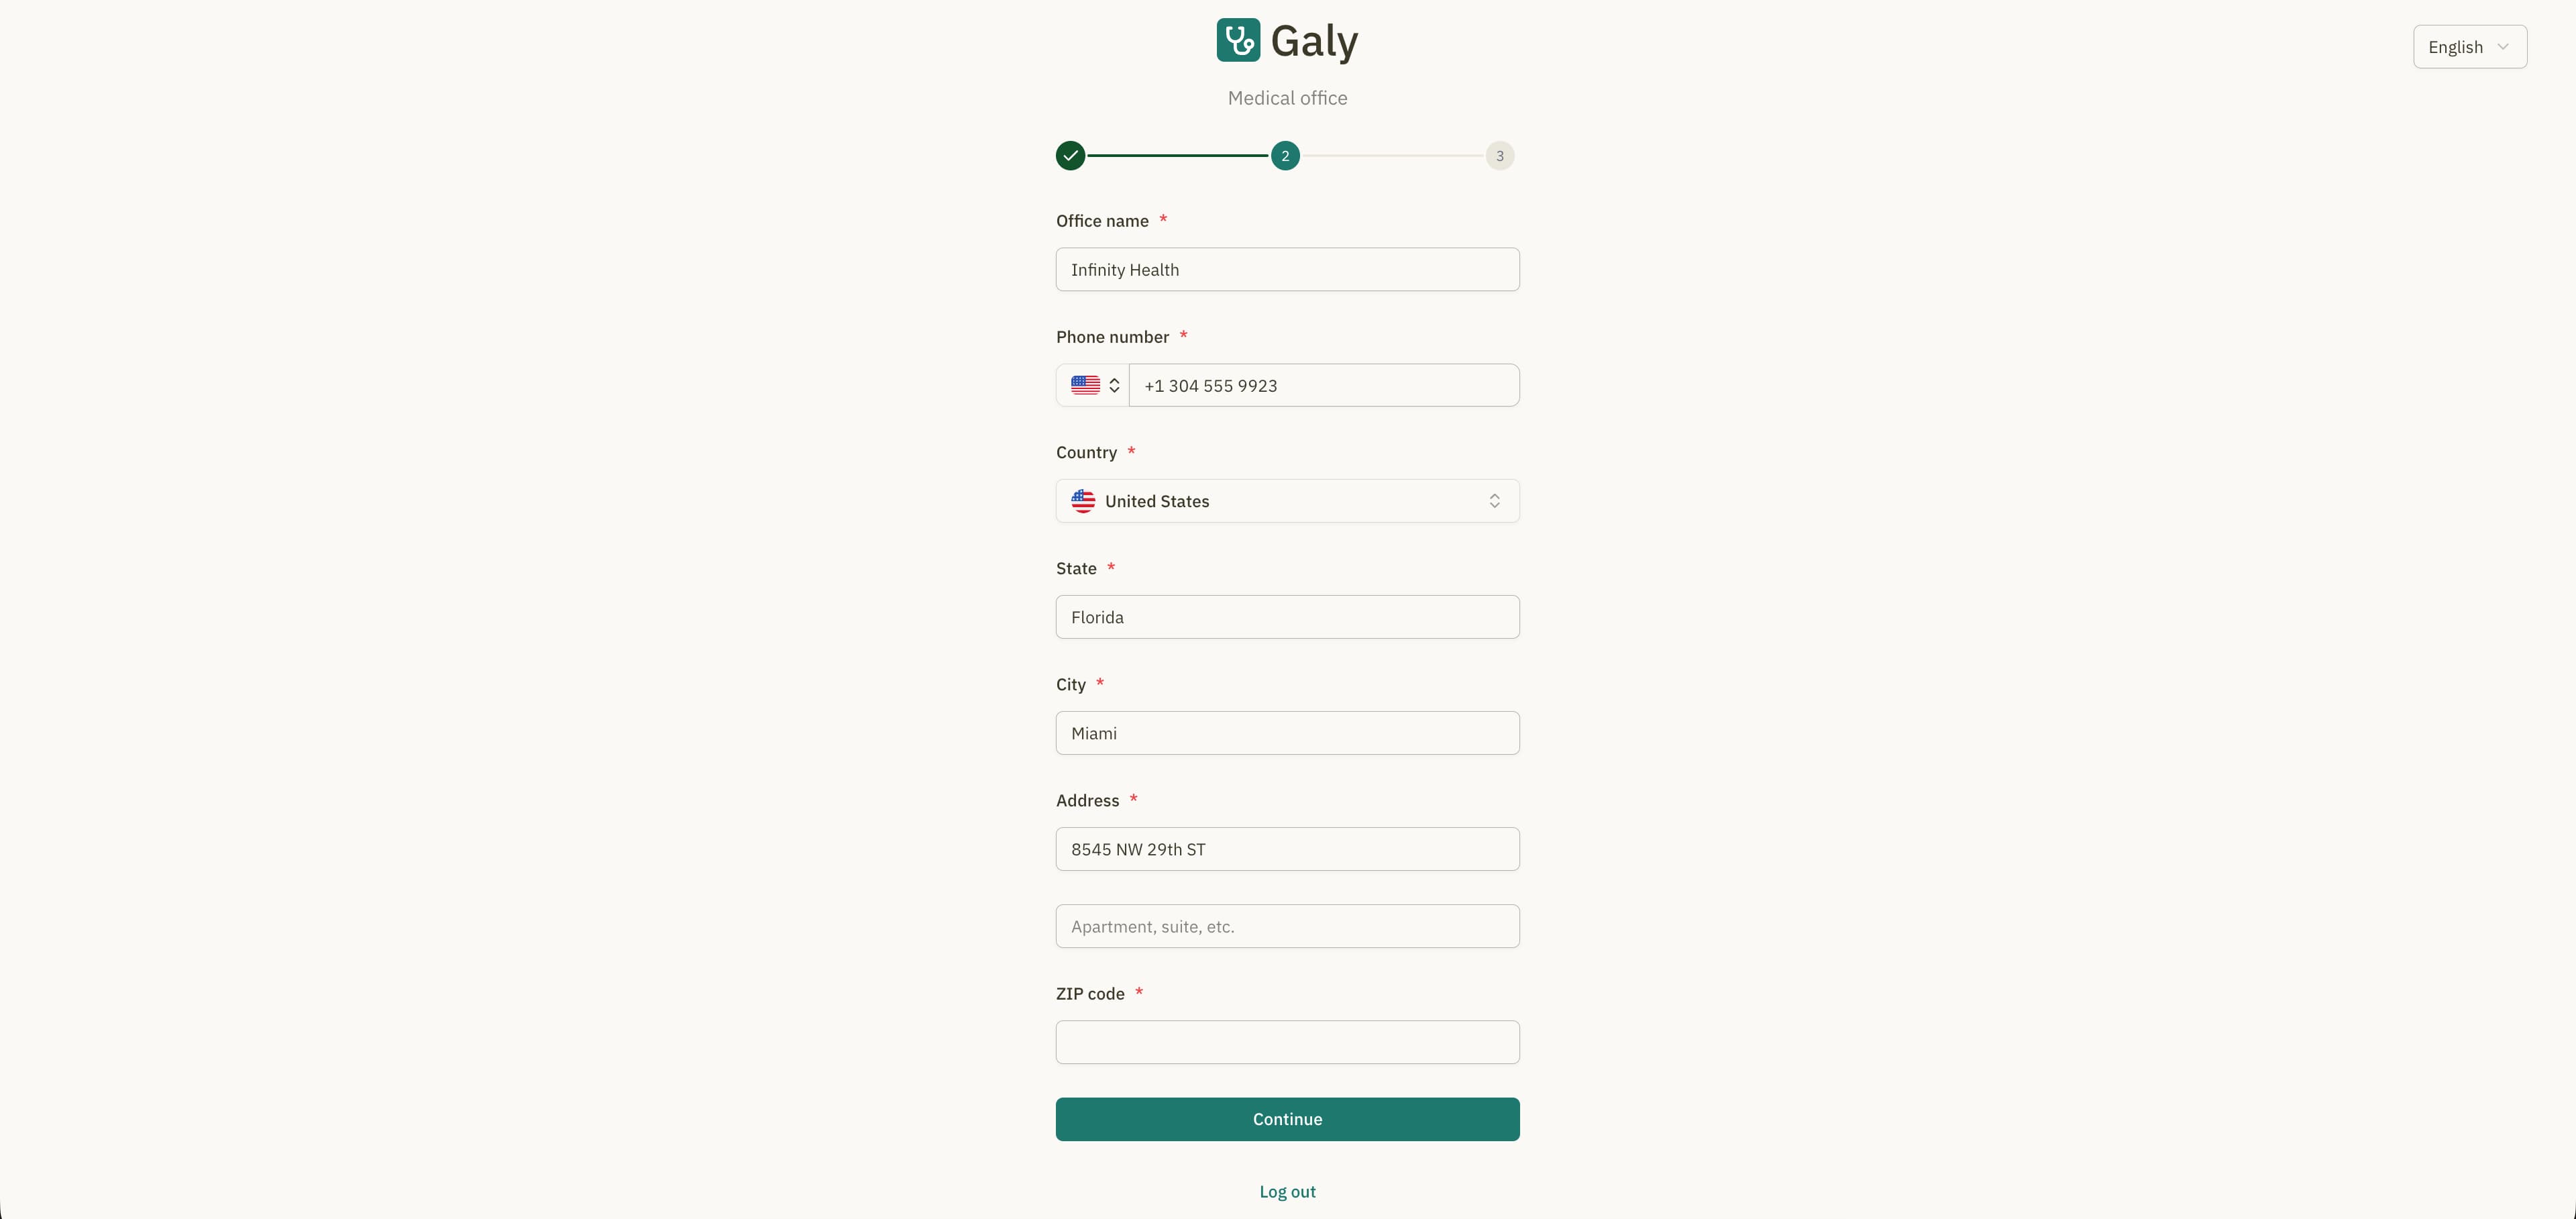
Step 2: Create your medical office
Set up your first medical office by providing its details:
| Field | Description | Required |
|---|---|---|
| Office name | The name of your medical office or clinic | Yes |
| Phone number | Office phone number (with country code) | Yes |
| Country | Country where the office is located | Yes |
| State | State or province | Yes |
| City | City | Yes |
| Street | Street address | Yes |
| Apartment, suite, etc. | Additional address details | No |
| ZIP code | Postal code | Yes |
Selecting a country code for the phone number
The phone number field includes a country selector. Click the flag icon to search and select your country code before entering the number.
Click "Continue" to proceed.
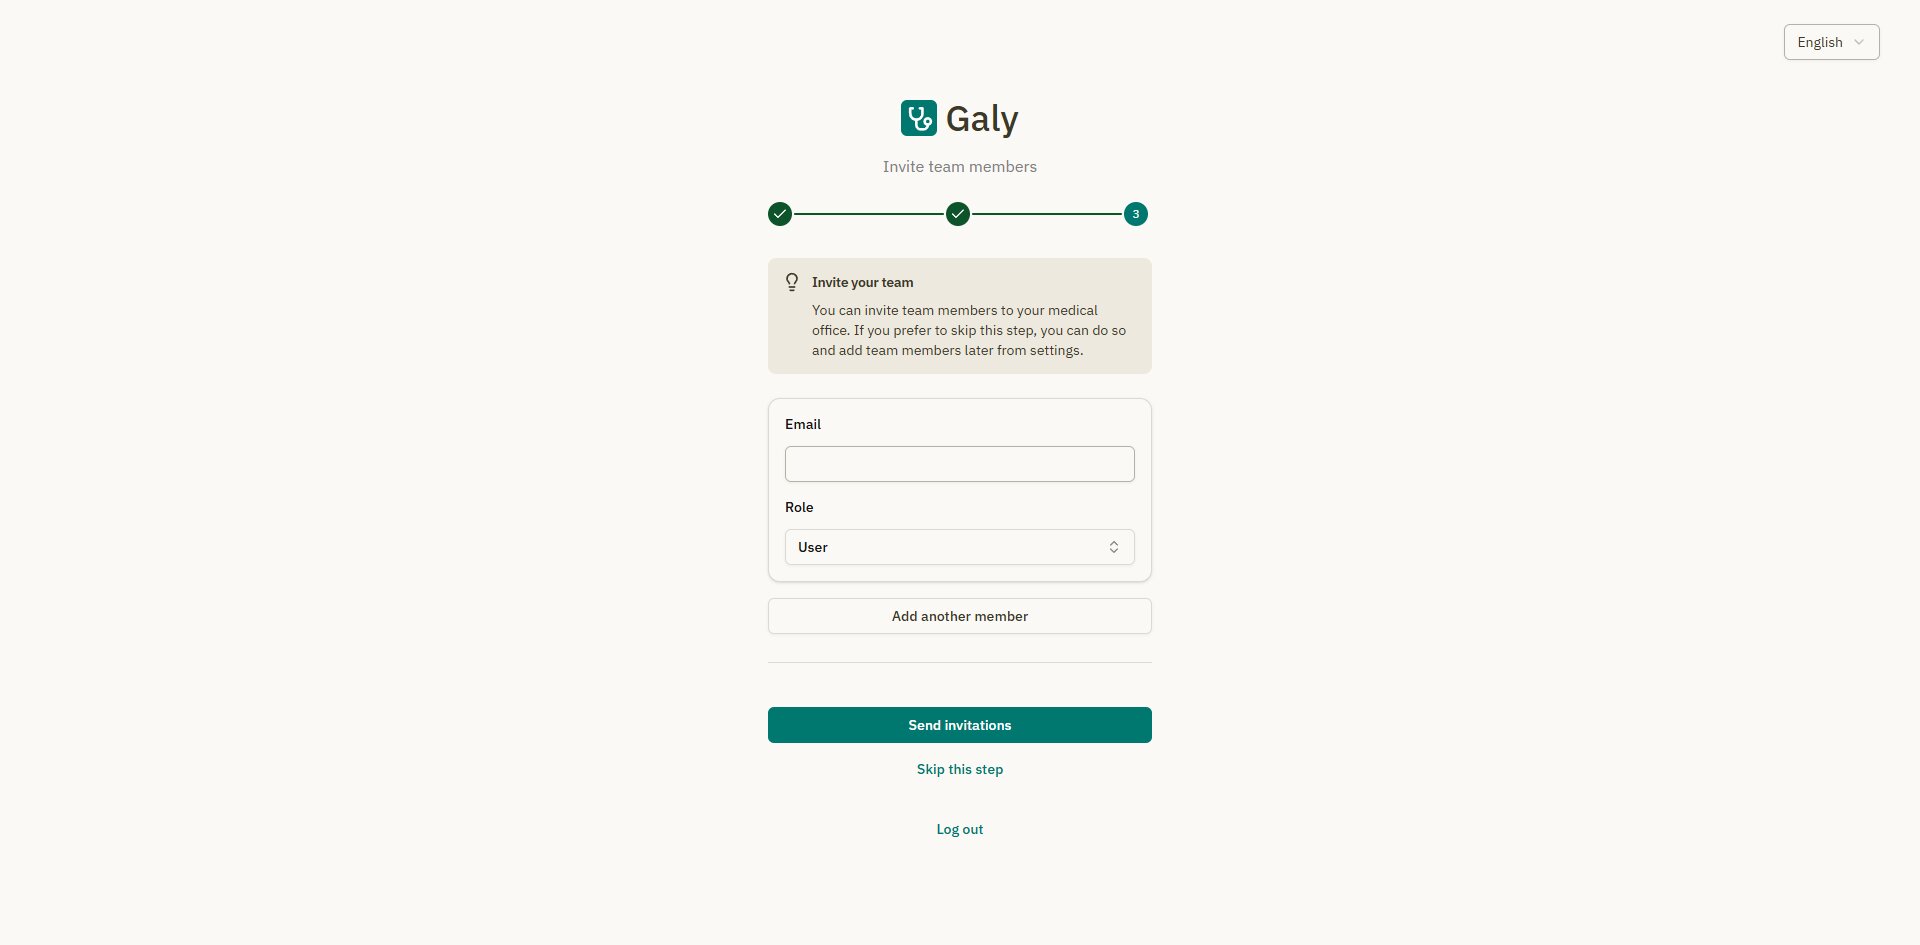
Step 3: Invite team members (optional)
You can invite colleagues to join your medical office. This step is optional — you can skip it and invite people later from Settings > Users.
How to invite team members
- Enter the team member's email address.
- Select a role:
- Admin — Full access to all features and settings.
- User — Access to patient management and appointments, with limited settings access.
- Click "Add another member" to invite additional people.
- Click "Send invitations" when ready.
Each invited member will receive an email with a link to accept the invitation and create their account.
Skipping this step
If you prefer to work alone or invite people later, click "Skip this step". You can always send invitations from the Users & Invitations settings page.
What happens next?
After completing the setup wizard, you are taken to the Dashboard Overview where you can begin using Galy:
You can manage multiple offices. To create additional offices, use the office switcher in the sidebar and select "New office".