Consultation Templates
Templates are reusable content blocks that you can apply when creating consultations or prescriptions. They save you from typing the same structure repeatedly and help maintain consistent documentation across your practice.
To access templates, go to Settings > Office and select the "Templates" tab.
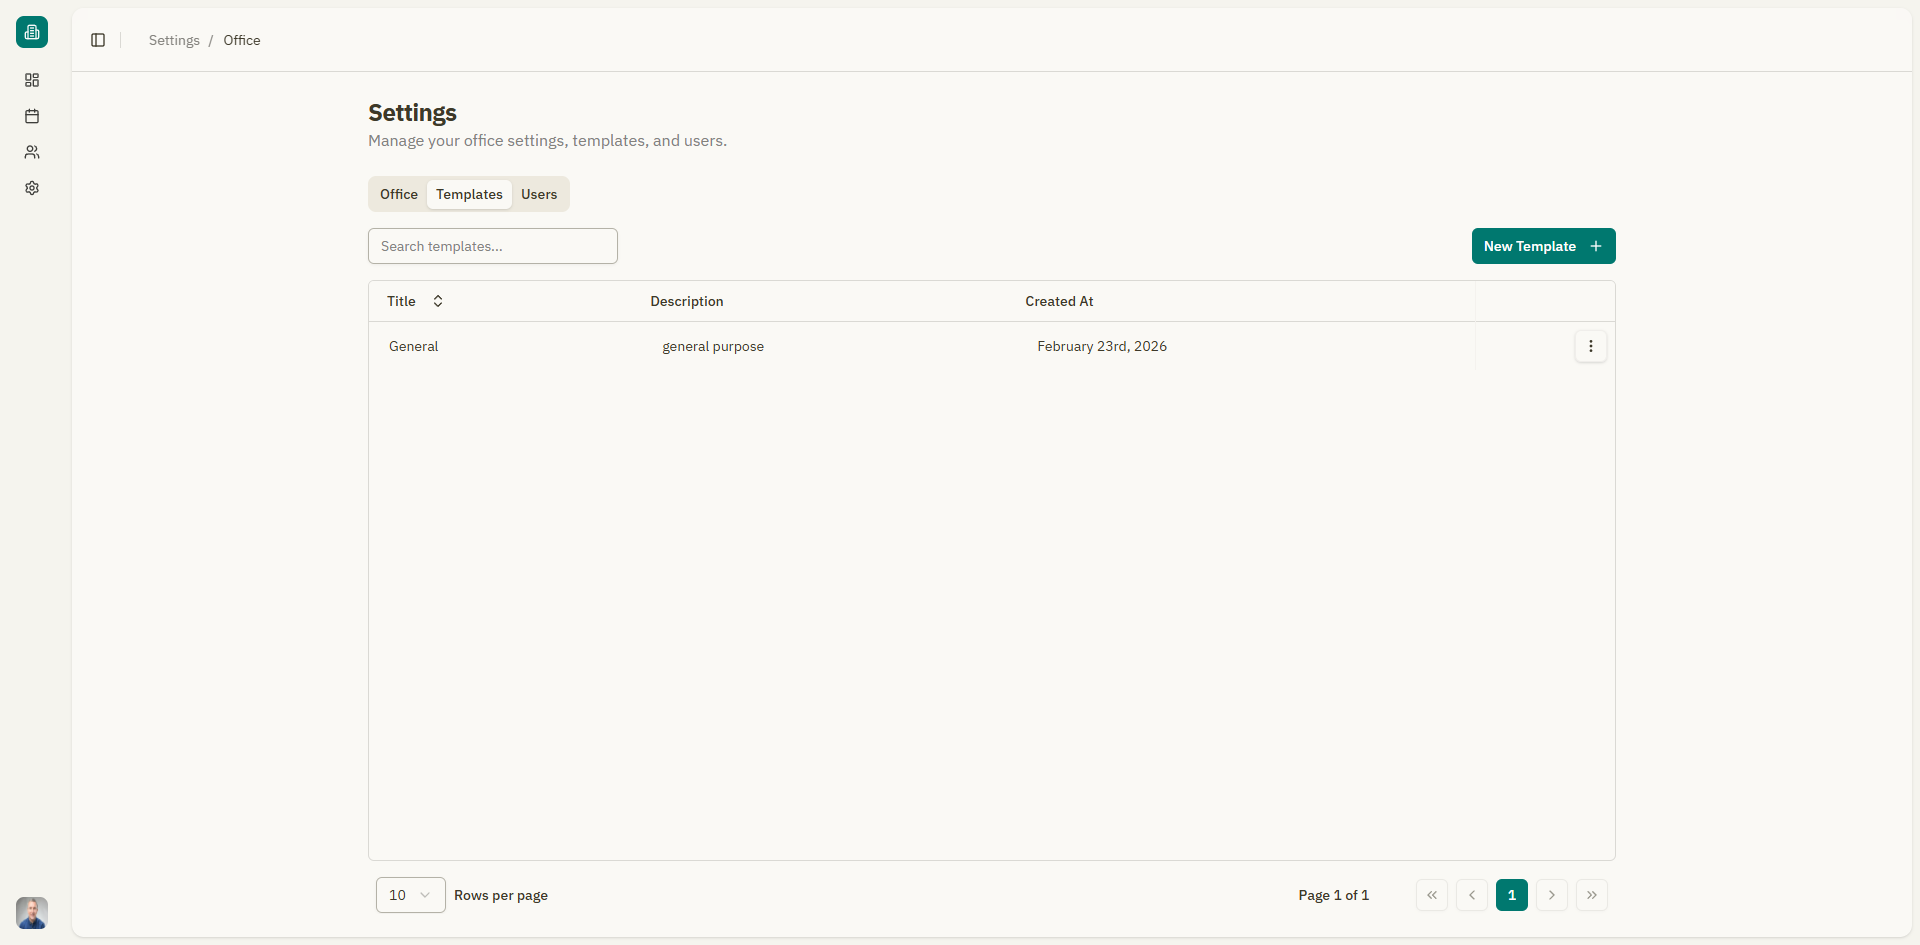
Templates table
The templates list shows all templates in your office:
| Column | Description |
|---|---|
| Title | The template name |
| Description | A brief description of the template's purpose |
| Created At | When the template was created |
| Actions | View details or delete |
Searching templates
Use the search bar to filter templates by name. Results update as you type.
Customizing visible columns
Click the "View" button to toggle column visibility.
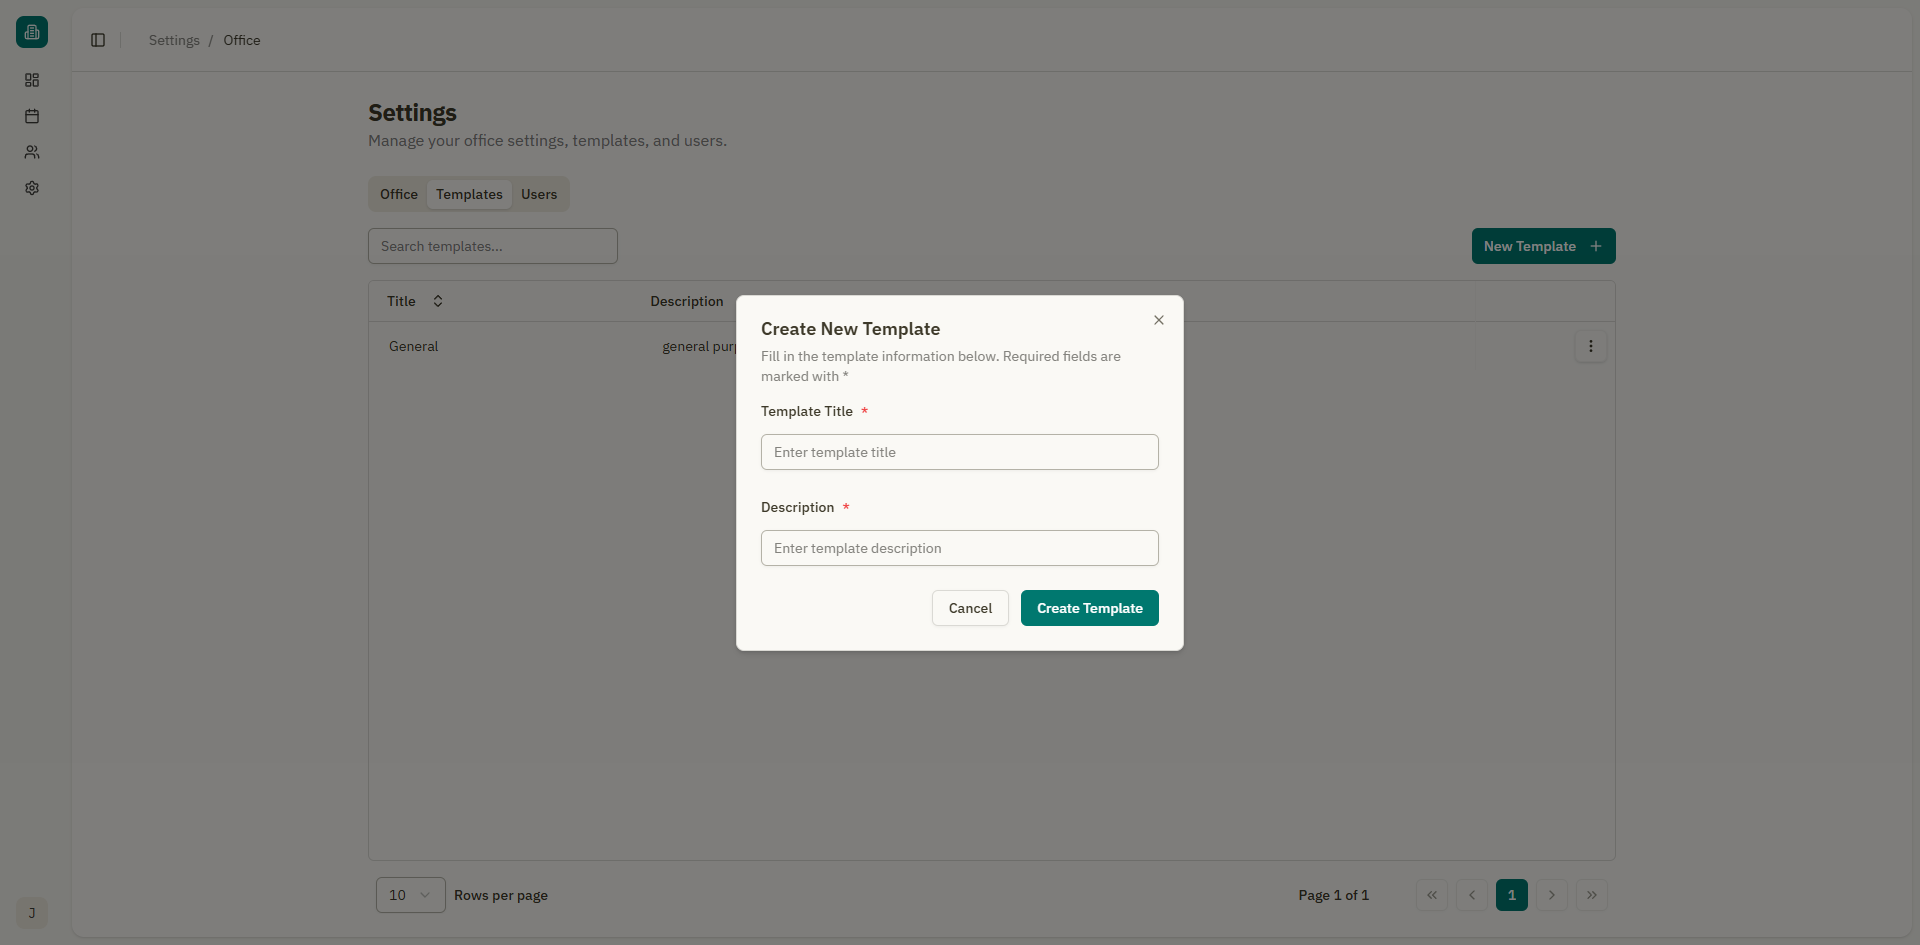
Creating a new template
- Click the "New Template" button.
- A dialog appears with the following fields:
| Field | Description | Required |
|---|---|---|
| Template name | A descriptive name for the template | Yes |
| Description | What the template is used for | No |
- Click "Create Template".
- The template is created and the editor opens.
- Write the template content using the rich text editor. You can use all the same formatting tools available in the consultation editor:
- Headings, lists, tables
- Text formatting (bold, italic, etc.)
- Colors and highlights
- Images and links
- Click "Save Template" when done.
Example templates
Here are some ideas for templates you might create:
| Template name | Description |
|---|---|
| General Consultation | Standard consultation form with sections for complaint, examination, diagnosis, and treatment |
| Follow-up Visit | Simplified template for return visits |
| Prescription | Standard prescription layout with patient info, medication, dosage, and instructions |
| Lab Request | Laboratory test request form |
| Medical Certificate | Template for issuing medical certificates |
| Referral Letter | Template for referring patients to specialists |
Editing a template
- Click on a template in the list, or click "View Details" from the actions menu.
- The template editor opens with the current content.
- Make your changes using the rich text editor.
- Click "Save Template".
A notification confirms: "Template updated successfully".
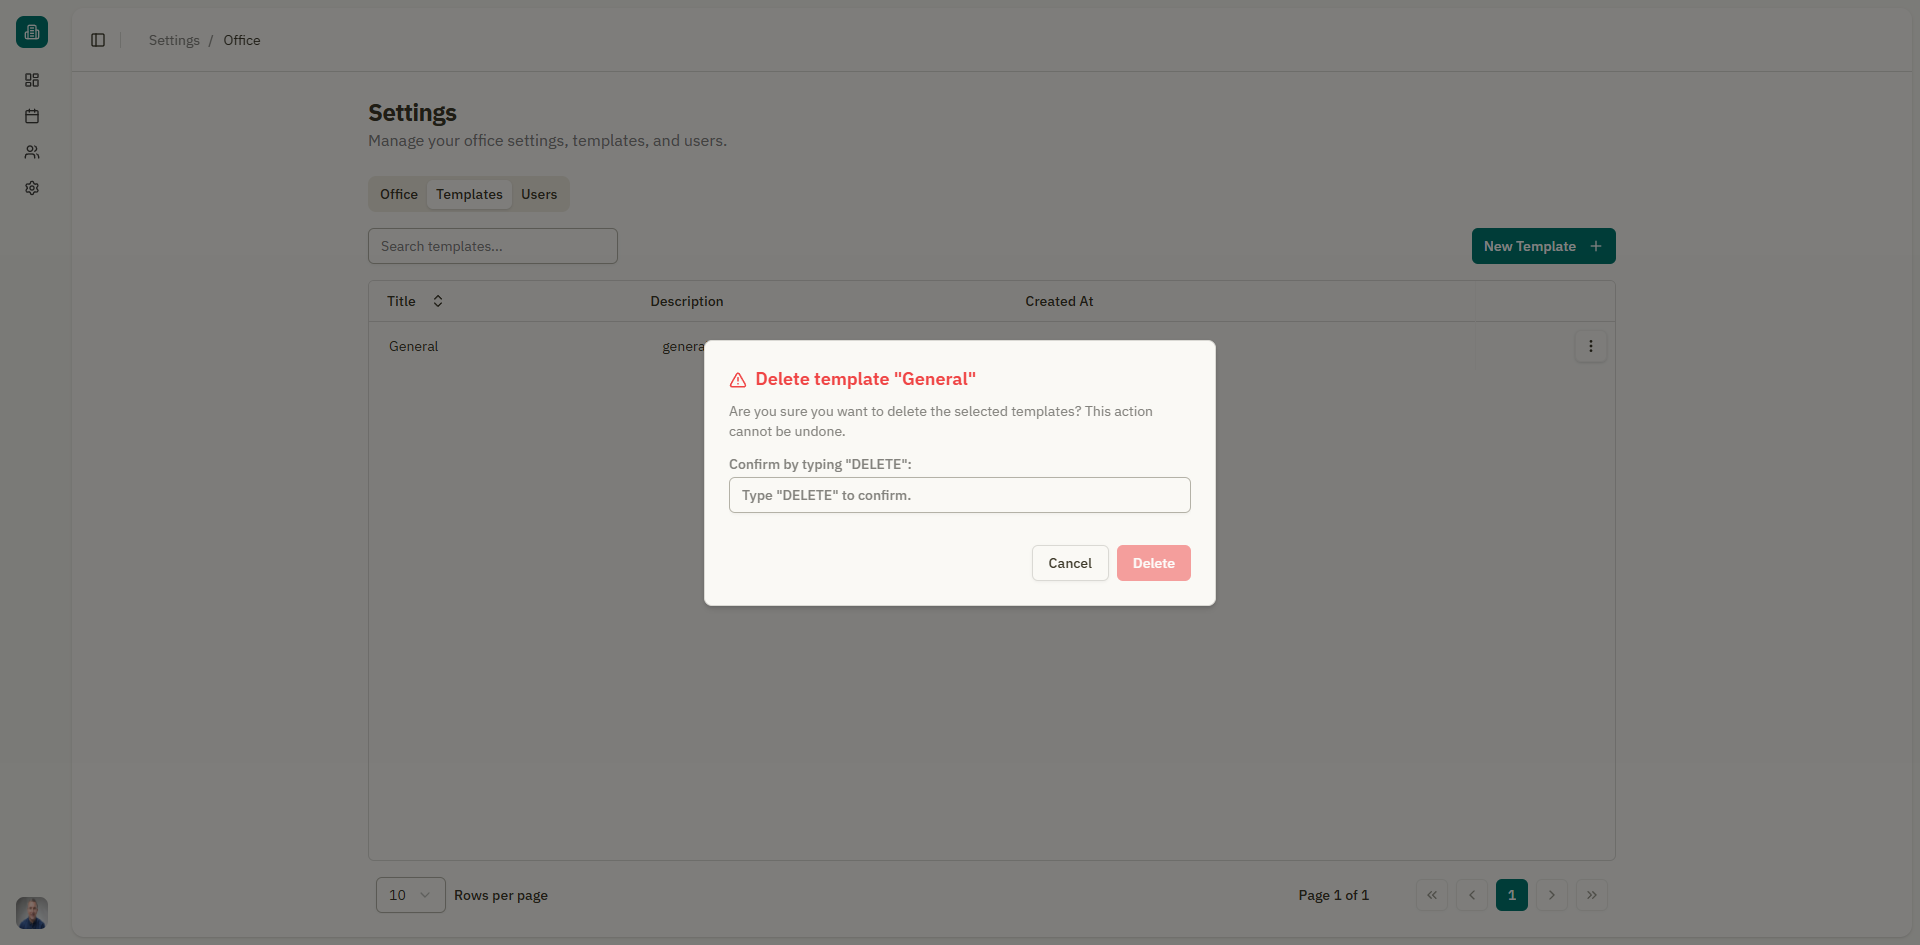
Deleting templates
Single template
- Click the actions menu (three dots) on the template row.
- Select "Delete".
- A confirmation dialog appears. Type "DELETE" to confirm.
- Click "Delete".
Bulk delete
- Select multiple templates using the checkboxes.
- A toolbar appears showing how many templates are selected.
- Click "Delete selected templates".
- Type "DELETE" in the confirmation dialog.
- Click "Delete".
Deleting a template is permanent and cannot be undone. Existing consultations and prescriptions that used the template are not affected — they keep their content.
Using templates
Templates are applied when creating:
- Consultations — When starting a new consultation, you can select a template from the appointment creation form.
- Prescriptions — When creating a new prescription, you select a template that pre-fills the prescription content.
After applying a template, you can modify the content as needed. The original template is not affected by changes made to individual consultations or prescriptions.
Empty state
If no templates exist yet, the page shows: "No templates found" with a "Create new template" button to help you get started.