Prescriptions
The Prescriptions tab in the appointment details page allows you to create, view, edit, and manage prescriptions associated with a medical consultation.
Accessing prescriptions
- Open an appointment from the calendar or from a patient's appointment list.
- Click the "Prescriptions" tab.
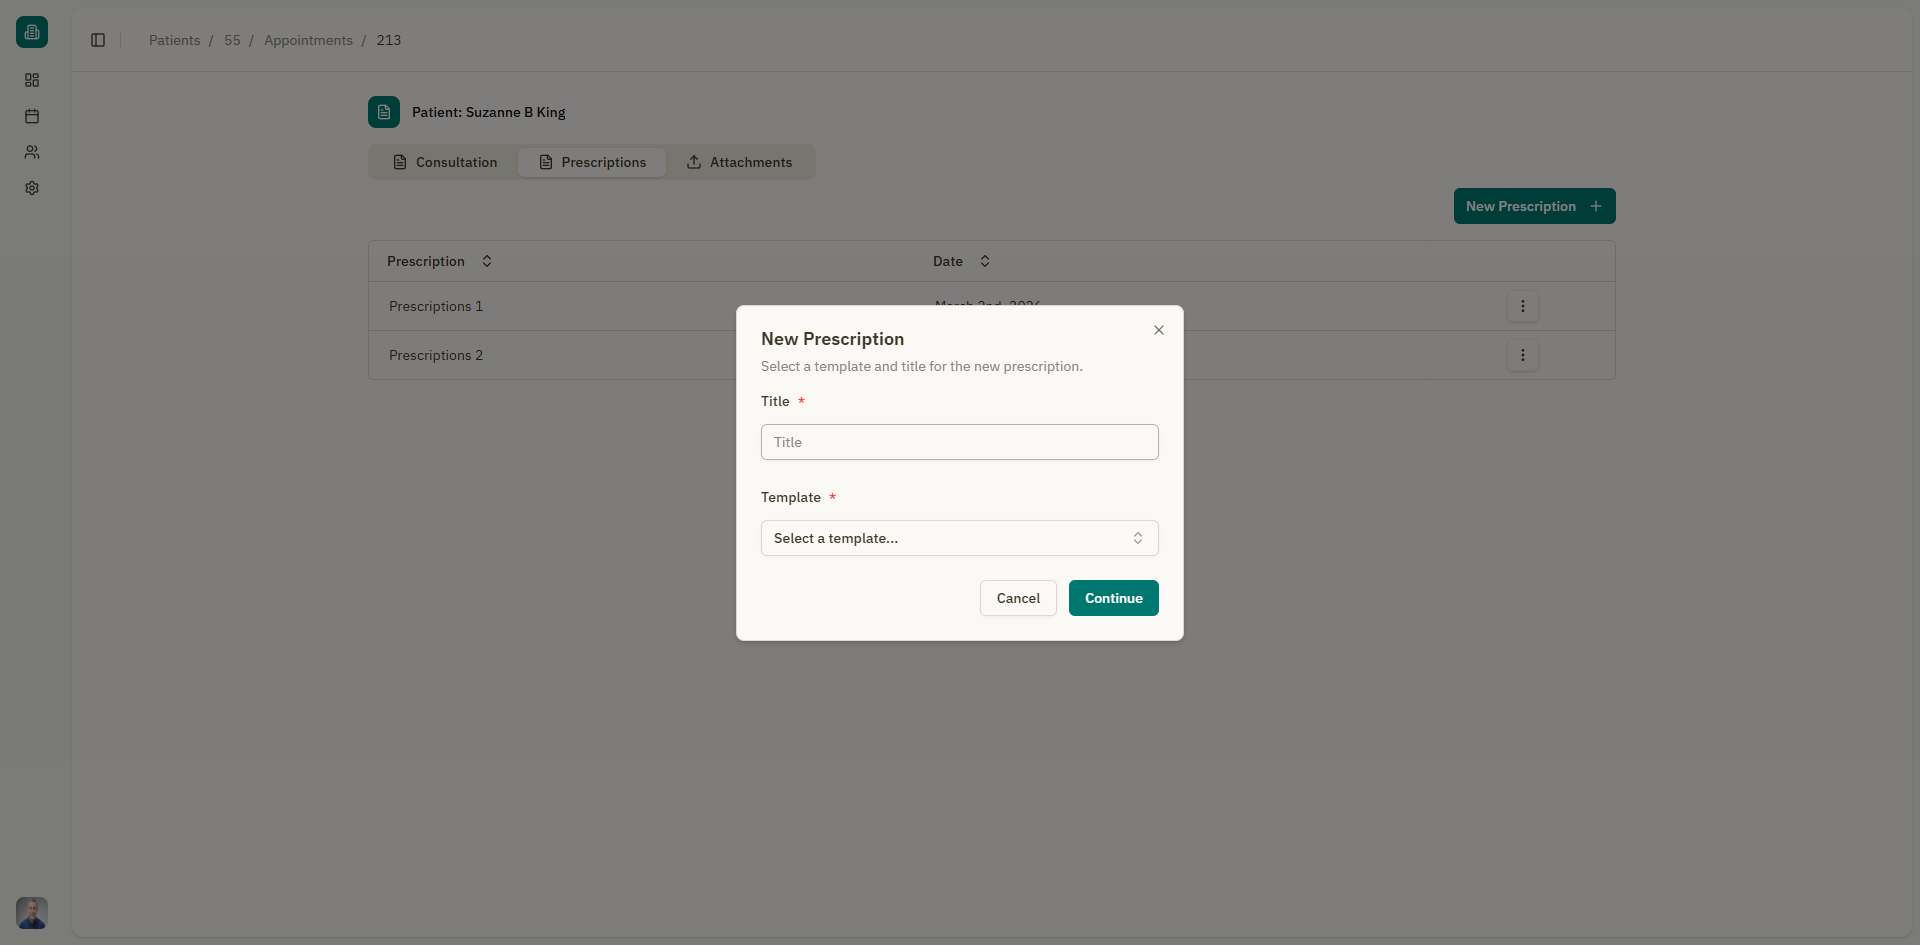
Creating a new prescription
- Click the "New Prescription" button.
- A dialog appears asking you to:
- Select a template — Choose from your consultation templates. This pre-fills the prescription with the template content. You can also select "Empty" to start from scratch.
- Enter a title — Give the prescription a descriptive name (e.g., "Medication Order", "Lab Request").
- Click "Continue".
- The prescription editor opens with the template content (if selected).
- Edit the prescription content as needed using the rich text editor.
- Click "Save" when done.
If no templates are available, the dialog shows a hint: "No templates available. Create one in settings." Click the "settings" link to go to Templates management.
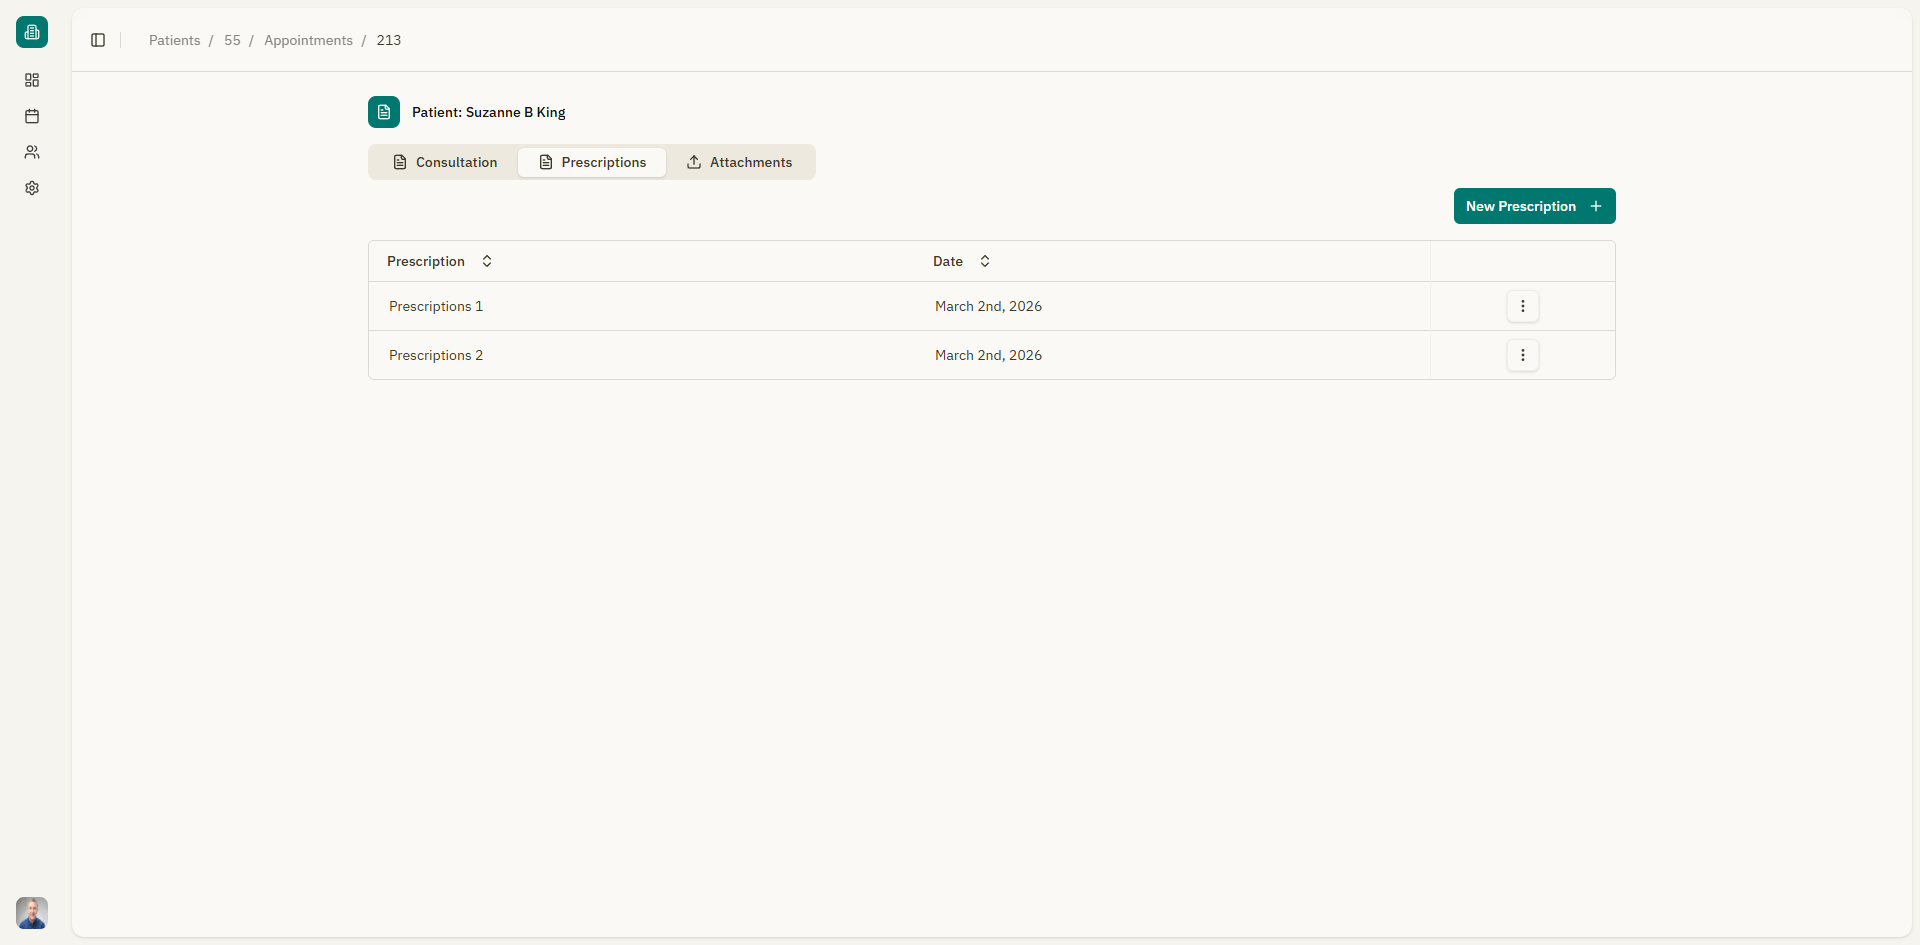
Viewing prescriptions
The prescriptions list shows all prescriptions for the current appointment:
| Column | Description |
|---|---|
| Title | The name of the prescription |
| Template | The template used (if any) |
| Created | When the prescription was created |
| Actions | View, delete, or invalidate |
Click on a prescription to view its full content in the editor.
Editing a prescription
- Click on a prescription from the list.
- The prescription editor opens with the current content.
- Make your changes.
- Click "Save" to update the prescription.
The editor provides the same rich text tools as the consultation editor, including text formatting, tables, lists, and images.
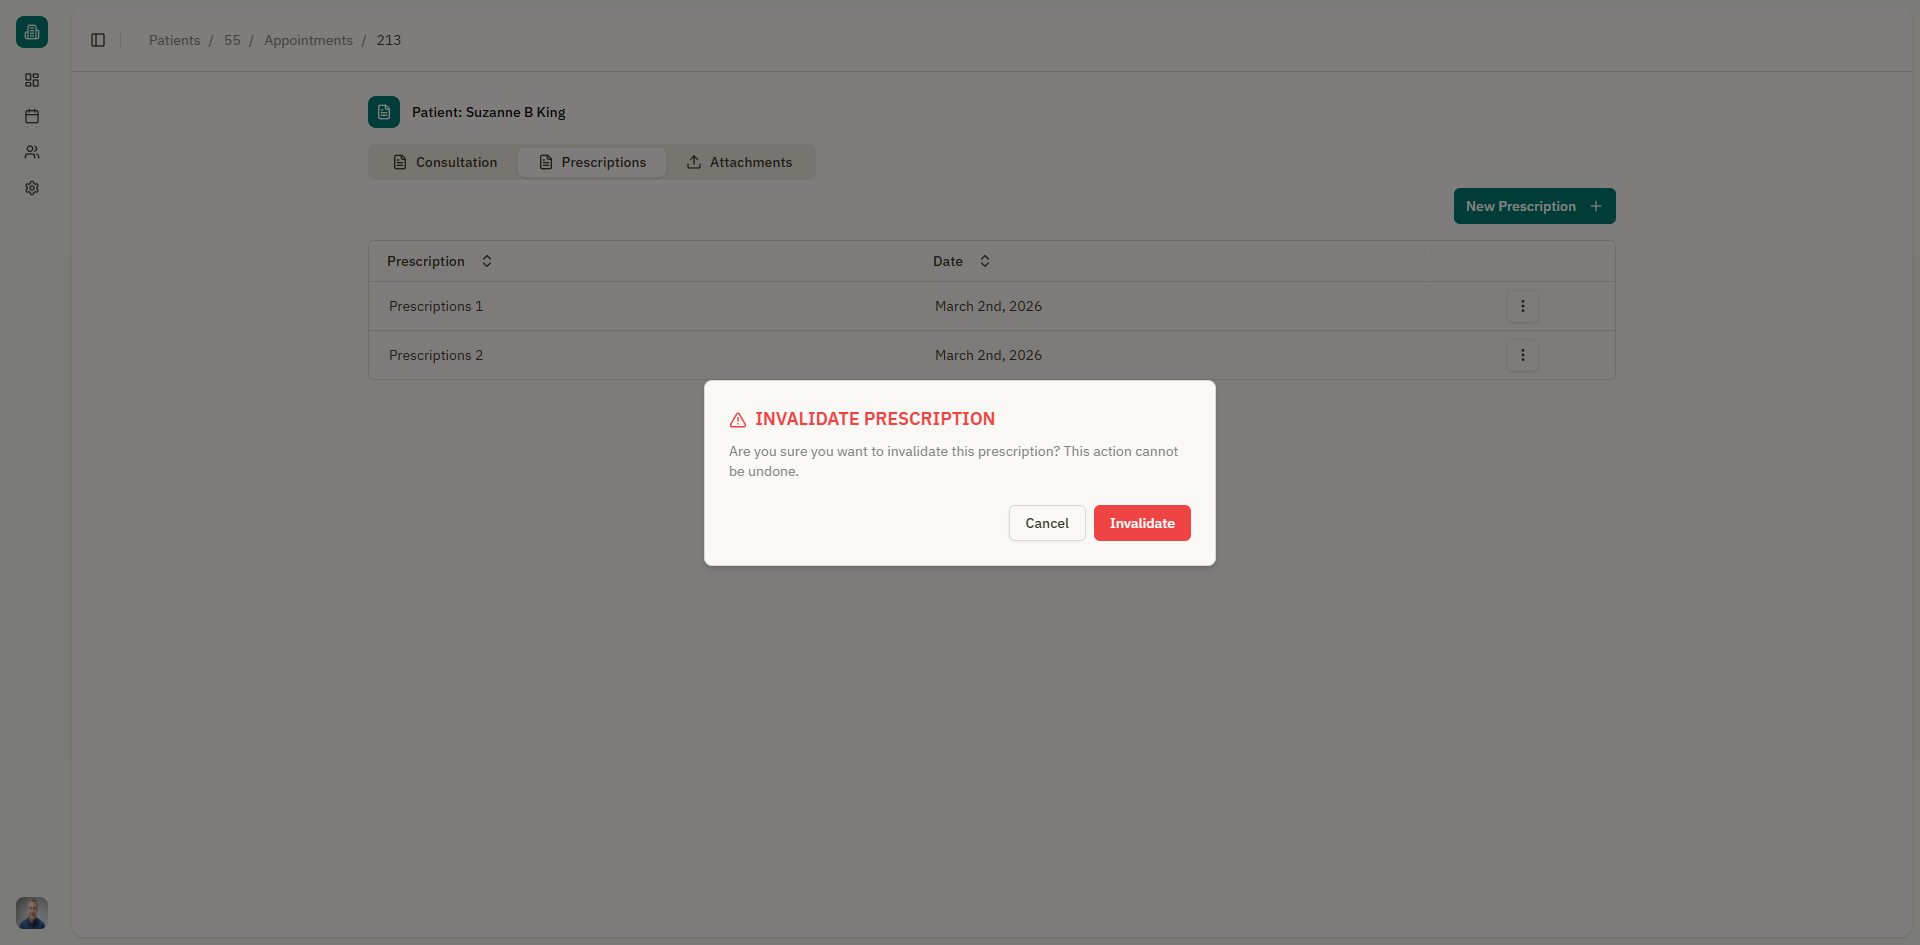
Invalidating a prescription
If a prescription should no longer be valid (e.g., it was issued in error or the medication was changed):
- Click the actions menu on the prescription row.
- Select "Invalidate".
- A confirmation dialog appears: "Are you sure you want to invalidate this prescription?"
- Click to confirm.
Invalidating marks the prescription as invalid rather than deleting it, preserving the record.
Deleting a prescription
To permanently remove a prescription:
- Click the actions menu on the prescription row.
- Select "Delete".
- Confirm the deletion in the dialog.
Deleting a prescription is permanent and cannot be undone.
Exporting a prescription to PDF
While viewing a prescription in the editor, you can export it as a PDF:
- Click the "Print to PDF" button in the editor toolbar.
- The PDF is generated and downloaded to your device.
The PDF includes any custom header and footer you've configured.
Empty state
If no prescriptions have been created for the appointment, the tab shows: "No prescriptions added".